


Your car may be more vulnerable than you may think! There are chances of it being scratched everywhere. While standing in the parking lot, at home, in the garage, the opportunities are endless.
To be very honest, you can’t protect your car from getting scratched, not forever, at least. However, what you can do is get rid of the windshield scratches that have been haunting you!
It is essential to highlight here that scratched windshields are a severe health hazard. They can compromise a driver’s visibility, and if not replaced or fixed soon, the scratched keep growing.
Eventually, when they have grown big and have turned into cracks, they can burst at any given moment, which is why we are sharing six steps to remove scratch marks from your windshield with ease.
Step 1- Determine the Dept & Scratch Type
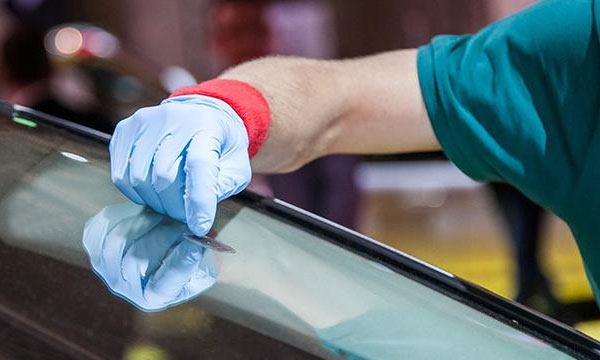
Known how long the scratch is essential, but what is even more important is the dept of it. You can use your fingernail to determine that.
Try running your nail over the scratch, if the fingernail does not get snagged, you have yourself a superficial scratch.
Such scratches are easy to remove with simple repairs. However, in the opposite case, you’ll be needing a professional approach to treat it. These scratches spread fast, deep, and can shatter anytime!
Step 2- Gather Materials
There is an entire process behind ridding windshields from scratches. You can purchase an auto glass repair kit from your mechanic and local auto shops. However, when purchasing the equipment, be sure that it has all the materials you will need, including a rubbing compound containing cerium oxide.
You can opt for other products as well if you do not find what you are looking for. You can replace it with an acrylic remover. For those who are on a severe budget, you can opt for non-gel toothpaste. However, you will need to reapply the solution on the scratches multiple times to make it work if you go for the pocket-friendly method.
Step 3- Preparing the Windshield
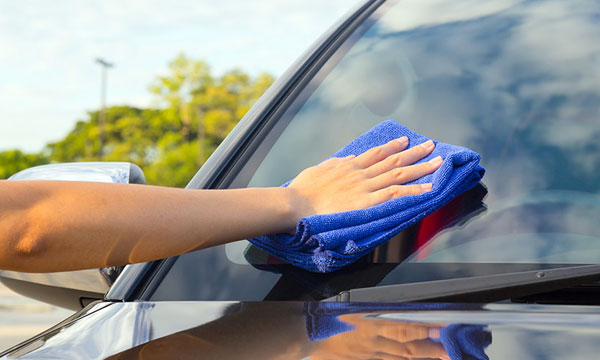
Now that you have your kit in place and you know what type of scratch you need to attend to, its time to prepare the windshield.
The first step is to wipe-off traces of dirt and debris. You can use a soft microfiber cloth to do so.
Then, use a car glass cleaner to give it a good wipe and let it dry. Do not use dish soap for this step; if you have do not have a filter, then you can mix dish soap with equal parts of water and distilled vinegar. An all-purpose cleaner will do the trick as well.
Once you are done, apply painter’s tape to the edges of the windshield to protect the car’s paint job from the splatters.
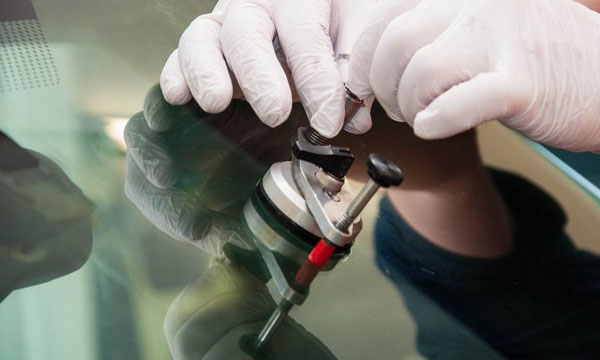
Step 4- Apply the Solution

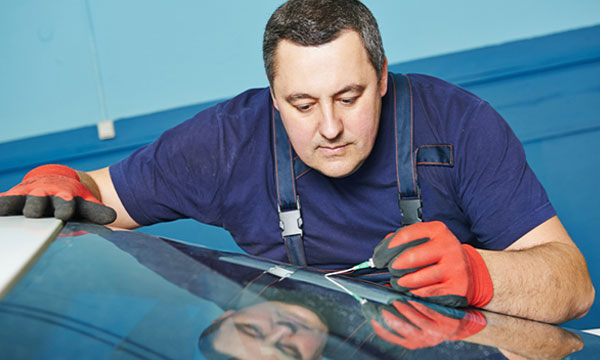
Now that the windshield has been prepared, its time you apply the solution, but be sure to wear a pair of gloves before you get started. Rub the compound on the affected area. Be sure to spread it properly using a microfiber cloth using a very gentle hand. Wipe away any excess mixture.
Step 5- Let the Compound Dry
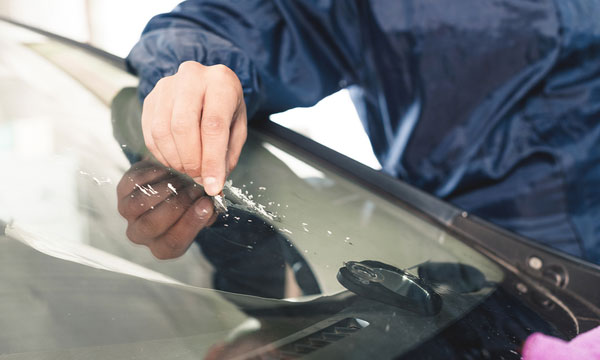
Allow the rubbing compound to take its time to dry. Once it has, remove the painter’s tape and wash the windshield, and once again, wipe it with a microfiber cloth.
Step 6- Reapply regularly
Rubbing compound wears off over time, which means you will have to repeat the same process in a loop to prevent the scratch from growing over time.
Happy driving!
Stay tuned to Brandsynario for more news and updates.