| CEO Stories Brandsynario")
 | CEO Stories Brandsynario")


If you’re a freelancer, blogger, or online entrepreneur in Pakistan, a Payoneer account is a must.
This New York-based platform offers fast, secure payments with lower fees than PayPal and is trusted by global giants like Google, Amazon, Airbnb, and Upwork.
In this guide, we’ll show you how to create a Payoneer account, explore its key features, and share tips to get approved faster.
How to Create a Payoneer Account Step by Step
Creating a Payoneer account is simple, but you need to follow each step carefully to avoid delays in approval. But first, make sure you have the following things ready to speed up the sign-up process:
|
1. Get Your Documents Ready
Have your valid ID card (front and back), bank account details (with IBAN), full name, date of birth, residential address, email, and phone number, all matching exactly as per your ID.
2. Start the Sign-up Process
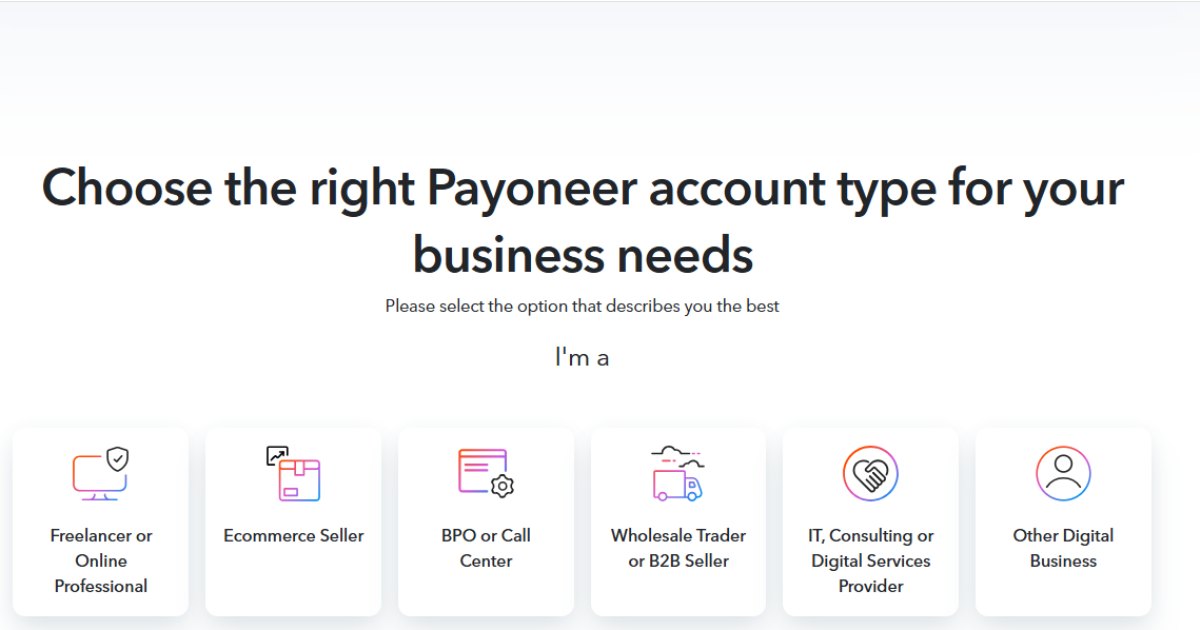
Visit Payoneer’s sign-up page and click Get Started. Choose “Freelancer, Service Provider, or SMB” and select “Get paid by international clients or freelance marketplaces.” If asked, set your monthly volume estimate to under $10,000 and hit Register.

3. Fill in Your Personal Details
Choose the “Freelancer” account type or the one that suits you. Next, select “Get paid international clients or freelance marketplaces” (this is solely for freelancers). And then select the monthly volume you receive as earnings. This will lead you to a registration page.
Enter your first and last names (exactly as on your ID), email (twice), and date of birth. Click Next.
4. Enter Contact Info
Provide your country, street address, city, postal code, and phone number. Click Send Code, enter the SMS verification code, then Next.
5. Set Up Security
Create a strong password. Pick a security question, answer it, and enter your ID number. You may also type your name in your local language (via a translator) and complete the captcha.
6. Add Your Bank Details
Input your bank’s name, account holder’s name (as per ID), and IBAN. Agree to Payoneer’s terms and hit Submit.
7. Complete Verification
You’ll get two emails: one to verify your email, and another confirming your application is under review.
After verifying, log in to your Payoneer account, go to Settings → Verification Centre → Account Verification, and upload clear, valid ID images (front + back) in supported formats and under 3 MB.
8. Wait for Approval
If everything is correct, approval can happen in just one business day. Otherwise, expect about 3–5 business days. If there’s no update after 5 days, reach out to support.
Creating a Payoneer Account Without a Bank Account
Don’t have a bank account yet? You can still create a Payoneer account.
You can create a Payoneer account without a bank account by linking it through a freelancing platform. In Pakistan, the easiest way is to use JazzCash or Easypaisa to get started.
Here’s how to set up your Payoneer account without a bank account:
- Create or log in to your Fiverr account.
- Go to the Selling tab, open the Settings menu, and select Earnings.
- On the next screen, choose Withdrawal options.
- Click the Payoneer Bank Transfer option.
- You’ll be redirected to the Payoneer registration page.
- From here, just follow the standard registration steps mentioned above.
And that’s it! You now have a Payoneer account without linking a bank account right away. Later, you can add your bank details to withdraw funds when you’re ready.
Payoneer Features
Payoneer offers features that make it a favourite for freelancers and online businesses:
- Global Reach: Receive payments from 200+ countries.
- Multiple Currency Accounts: Hold USD, GBP, EUR, and more.
- Affordable Conversion Rates: Get better rates than PayPal.
- ATM Withdrawals: Use the Payoneer card to withdraw from local ATMs.
- Integration with Platforms: Seamlessly connect with Fiverr, Upwork, Amazon, and other platforms.
List of Websites That Pay Through Payoneer
Several global platforms are integrated with Payoneer. Here are some popular ones:
- Freelance Platforms: Fiverr, Upwork, PeoplePerHour
- Affiliate Programs: Amazon Associates, ClickBank, CJ Affiliate
- E-commerce Marketplaces: Amazon, Walmart, Wish
- Online Teaching Platforms: Udemy, Coursera
If you’re working online, chances are the platform supports Payoneer for payouts.
Why Isn’t My Payoneer Account Approved?
Sometimes applications are delayed or rejected. Common reasons include:
- Incorrect or mismatched information
- Low-quality ID uploads
- Using a phone number or email already linked to another account
- Providing incomplete address details
Tip: Double-check all your details and use clear images of your documents to avoid rejections.
Conclusion
Creating a Payoneer account is one of the smartest steps for anyone earning online in Pakistan.
It’s simple, fast, and opens doors to a world of opportunities. Whether you’re freelancing, selling products, or running an affiliate site, Payoneer ensures you get paid easily and securely.
Start your registration today and take the first step toward hassle-free global transactions.
Stay tuned to Brandsynario for latest news and updates