


At some point in the 2000s, candles went from nice-to-have-around to a home decor status symbol, thanks to the onslaught of luxury perfumers and candle-makers. Since then, there have been a lot of conflicting opinions about whether or not upwards of $50 is an appropriate amount to spend on something that lasts collective 2-and-a-half days. The candle market thrives even more with winters as they make the perfect options for gifting. However, buying or making scented candles isn’t just enough. Proper care must be taken to ensure the longevity of the candle.
Today, we are discussing all things candles as we give you a recipe to create scented candles from scratch.
Candle Care
- Keep the wax pool clear of wick trimmings and matches, as debris in the wax can act as a secondary wick, encouraging your candle to burn faster.
- Long or crooked wicks can create high flames, smoking, or sooting. Trimming the wick to 5mm (when the wax has been set) is the easiest way to prevent this.
- Burn regular-sized candles for one and a half to two hours at a time. Burning for less time can cause the candle to ‘tunnel’, which doesn’t look neat.
- Extinguish a candle if the flame becomes too high or flickers repeatedly.
- Never touch or move a burning candle.
Read More: 7 Best Perfumes By Pakistani Brands That Are Worth It
DIY Scented Candles
Ingredients
- 2kg soy wax or paraffin
- Scented or essential oils or mica or candle powders in various colours (optional – the amount you’ll need depends on the desired colour, so start with 1/2 teaspoon and go from there)
- Double boiler (or use a heatproof bowl and a saucepan)
- Thermometer
- Candle moulds (for example, small glass jars, tins and pots)
- Spray oil
- Wicks
- Hairdryer
Method
- Begin by grating or chopping your wax or paraffin. The smaller you chop it, the quicker it will melt. If you are using a double boiler, get it set up. If you don’t have one, boil some water in a large saucepan, then set a heatproof bowl on top of the saucepan. Add the wax to the top of the boiler or the bowl and leave to melt, stirring every so often. Use a thermometer to ensure the temperature of the wax does not exceed 90°C.
- Once the wax has melted, add your desired oil or combination of oils (for a 250ml-sized candle, about 30ml of oil is ample), and powder for colour, if you wish. Do this over the heat very quickly, so that the colouring agent combines easily. Remove from the heat once everything has been added and mixed to distribute the colour and oil. Set aside and quickly prep your mould.
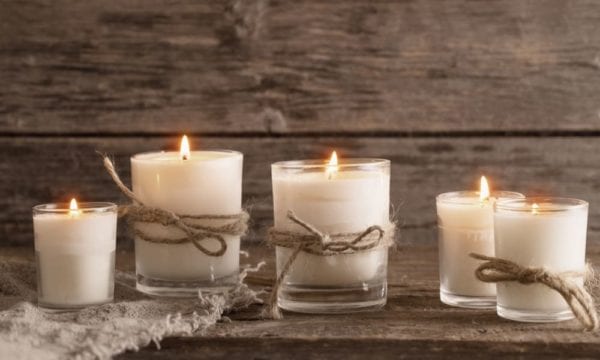
- If you’re using a temporary mould, spray it with a little oil for easy removal. Next, insert the wick by tying it to a pencil and sitting it horizontally across the top of the mould so that the wick hangs vertically. Pour in the wax to about 2cm from the top. The candle sometimes shrinks in the centre, so you can add a little more wax if needed. Use a hairdryer to dispel any air bubbles or divots, and smooth the top.
- Cut off the wick and leave the candle for at least 24 hours before removing from the mould or lighting it if using a permanent mould.
Note: The above recipe will make about eight small scented candles.
Read More: There’s A ‘Bulletproof’ Coffee & Here’s What You Need To Know
Stay tuned to Brandsynario for the latest news and updates.