
Apple is known for releasing robust products. They often come embedded with state-of-the-art technology. Many people are of the impression that Apple is ahead of its time. They may just be correct. So, today we have some tips for you. Here is how you can use the iPhone portrait mode correctly!
The portrait mode is one of the best ones that you can access on an iPhone. It is often used for close-up photography of objects, humans, or pets. A lot of people prefer using it for people and pets. However, there may be some functions and features that people might be unaware of. Let us dive into the tips!
1. Portrait Mode And Night Mode
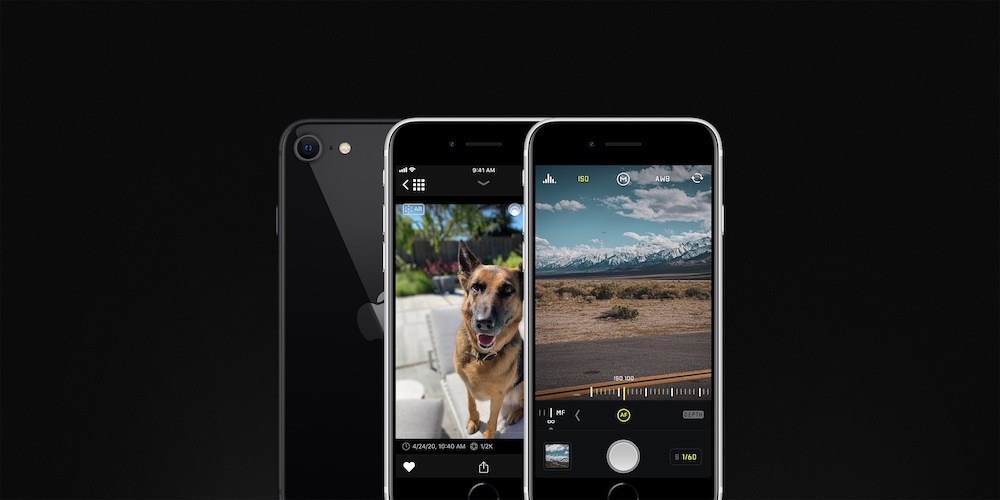
You can take beautiful pictures with an iPhone’s front camera portrait mode. Yes, that selfie camera also has a portrait mode. However, you cannot zoom in or out of it so best move the camera instead. Additionally, taking photos in night mode in portrait can be useful in a poorly lit environment. Simply select the night mode feature on the camera and voila, portrait pictures with better lighting.
2. Adjusting Blur
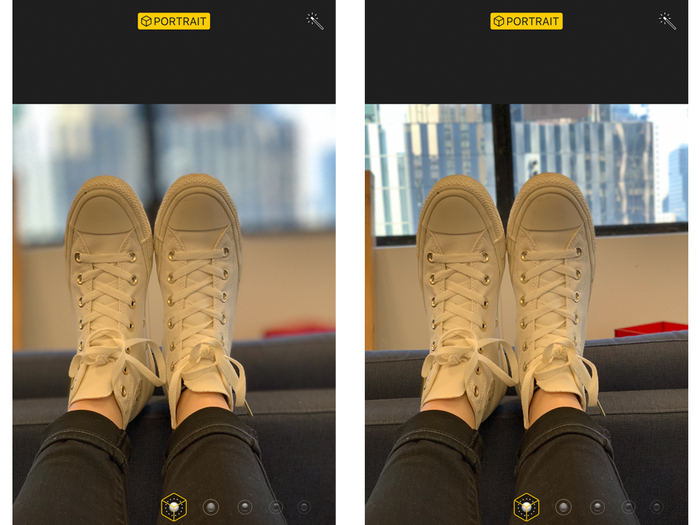
Here is another feature that you might not have seen a lot. Portrait mode, basically, protrudes the person from the rest of the image. Then, the mode blurs the background to give a better effect. In iPhone portrait mode, you can adjust the amount of blur you want in the background. At times, it can be quite unpleasant to have too much blur so you can easily lessen it now.
3. Removing Portrait Mode
Sometimes, you may take a picture that you don’t want in Portrait mode. In such a case, you can always remove portrait mode from that picture. Simply go to the picture, select edit, and uncheck the yellow button. This can be quite a useful feature when you are unsure about what kind of picture you want. You can even save copies of either type, in case you change your mind.
4. Subject Eye
One of the most important parts of an image is the lighting and exposure to it.
Too much, and it looks painful to the eye.
Too less, then you can barely see anything in the image.
Similarly, there is a way to adjust exposure in this mode. All you have to do is click on the subject’s eye when you are holding the camera high. It will automatically adjust the exposure in accordance with the eye.
5. Editing Portrait Photos
You have an in-built editor on your iPhone. When you take a photo and wish to edit it, simply click on the “edit” button. This will open up a lot of features for you to alter and adjust. This varies from brightness to exposure, all the way up to tint and contrast. In portrait mode, you get two extra features. One of these is background blur and the second is portrait lighting.
6. The Perfect Frame
This mode works best when the subject is approximately between 2 – 8 feet away from the camera. It gives the best photographic results as well as quality. Additionally, this feature is made easier in an iPhone. If you are too far, it will ask you to come closer and vice versa. Check out this feature if you have an iPhone and wish to take amazing portrait mode pictures.
Let us know of your experience in the comments below.
Stay tuned for more from Brandsynario!