


Students in Pakistan comprise of a large proportion of the country’s dynamic populace and are always looking for methods to stretch their financial resources. Given how commonplace cellphones are among students, knowing how to fix them may be an invaluable ability that promotes independence and cost savings. In today’s article we’re going to be doing exactly that!
Understanding Value of DIY Phone Repair
For students, there is more to DIY phone repair than just the instant satisfaction of saving a few rupees. It’s about arming oneself with a set of useful and empowering skills. With the speed at which technology is developing nowadays, knowing how to fix and maintain your gadgets becomes more and more important.

The possibility for cost reduction is the most obvious advantage of doing your own phone repair. Due to the high cost of professional repair services, students frequently have limited funds. Students who learn how to fix their own phones can save money on labor costs by simply purchasing the components they need, which are frequently available online or from local vendors at lower costs.
Step-by-Step Guide to DIY Phone Repairs
A thorough, step-by-step manual for do-it-yourself phone repairs can enable students to take charge of the upkeep of their devices, saving them money and giving them vital skills in the process. Here is a guide to help you get started with do-it-yourself phone repairs:
- Diagnose The Issue: Start by figuring out what’s wrong with your phone. Is there a non-responsive button, a defective battery, or a damaged screen? To identify the problem, use repair manuals, troubleshooting instructions, and internet forums.

Image Source: Anyrecover - Gather Information: After diagnosing the issue, look into possible solutions. Look for repair manuals specific to the model of your phone. For a wide range of fixes, websites like iFixit and ubreakifix provide comprehensive instructions and videos.
- Assemble Your Tools: Gather the equipment required for the task. This usually consists of tweezers, screwdrivers, plastic opening tools, and occasionally a heat gun to release glue. These items are available for purchase separately or as a package deal for phone repair.
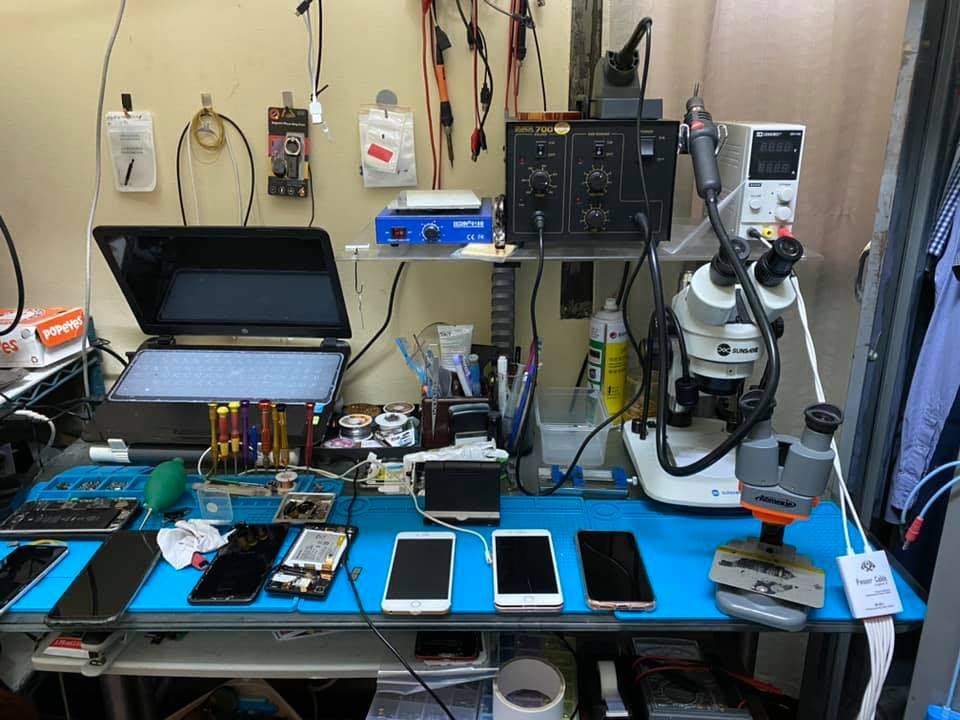
Image Source: Reddit - Prepare Your Workspace: Create a spotless, well-lit work area on a level surface. Arrange the parts and tools you have, and think about utilizing a box to prevent small bits and screws from disappearing.
- Follow The Guide Closely: Pay close attention to the repair guide you have selected. Take your time at each stage, and before you start, try to view a video lesson to observe how the repair is done.
- Keep Track Of Components: Make a note of every screw and part as you disassemble your phone. To help you remember where each part goes, take pictures or create notes. Assembling will be significantly simpler as a result.
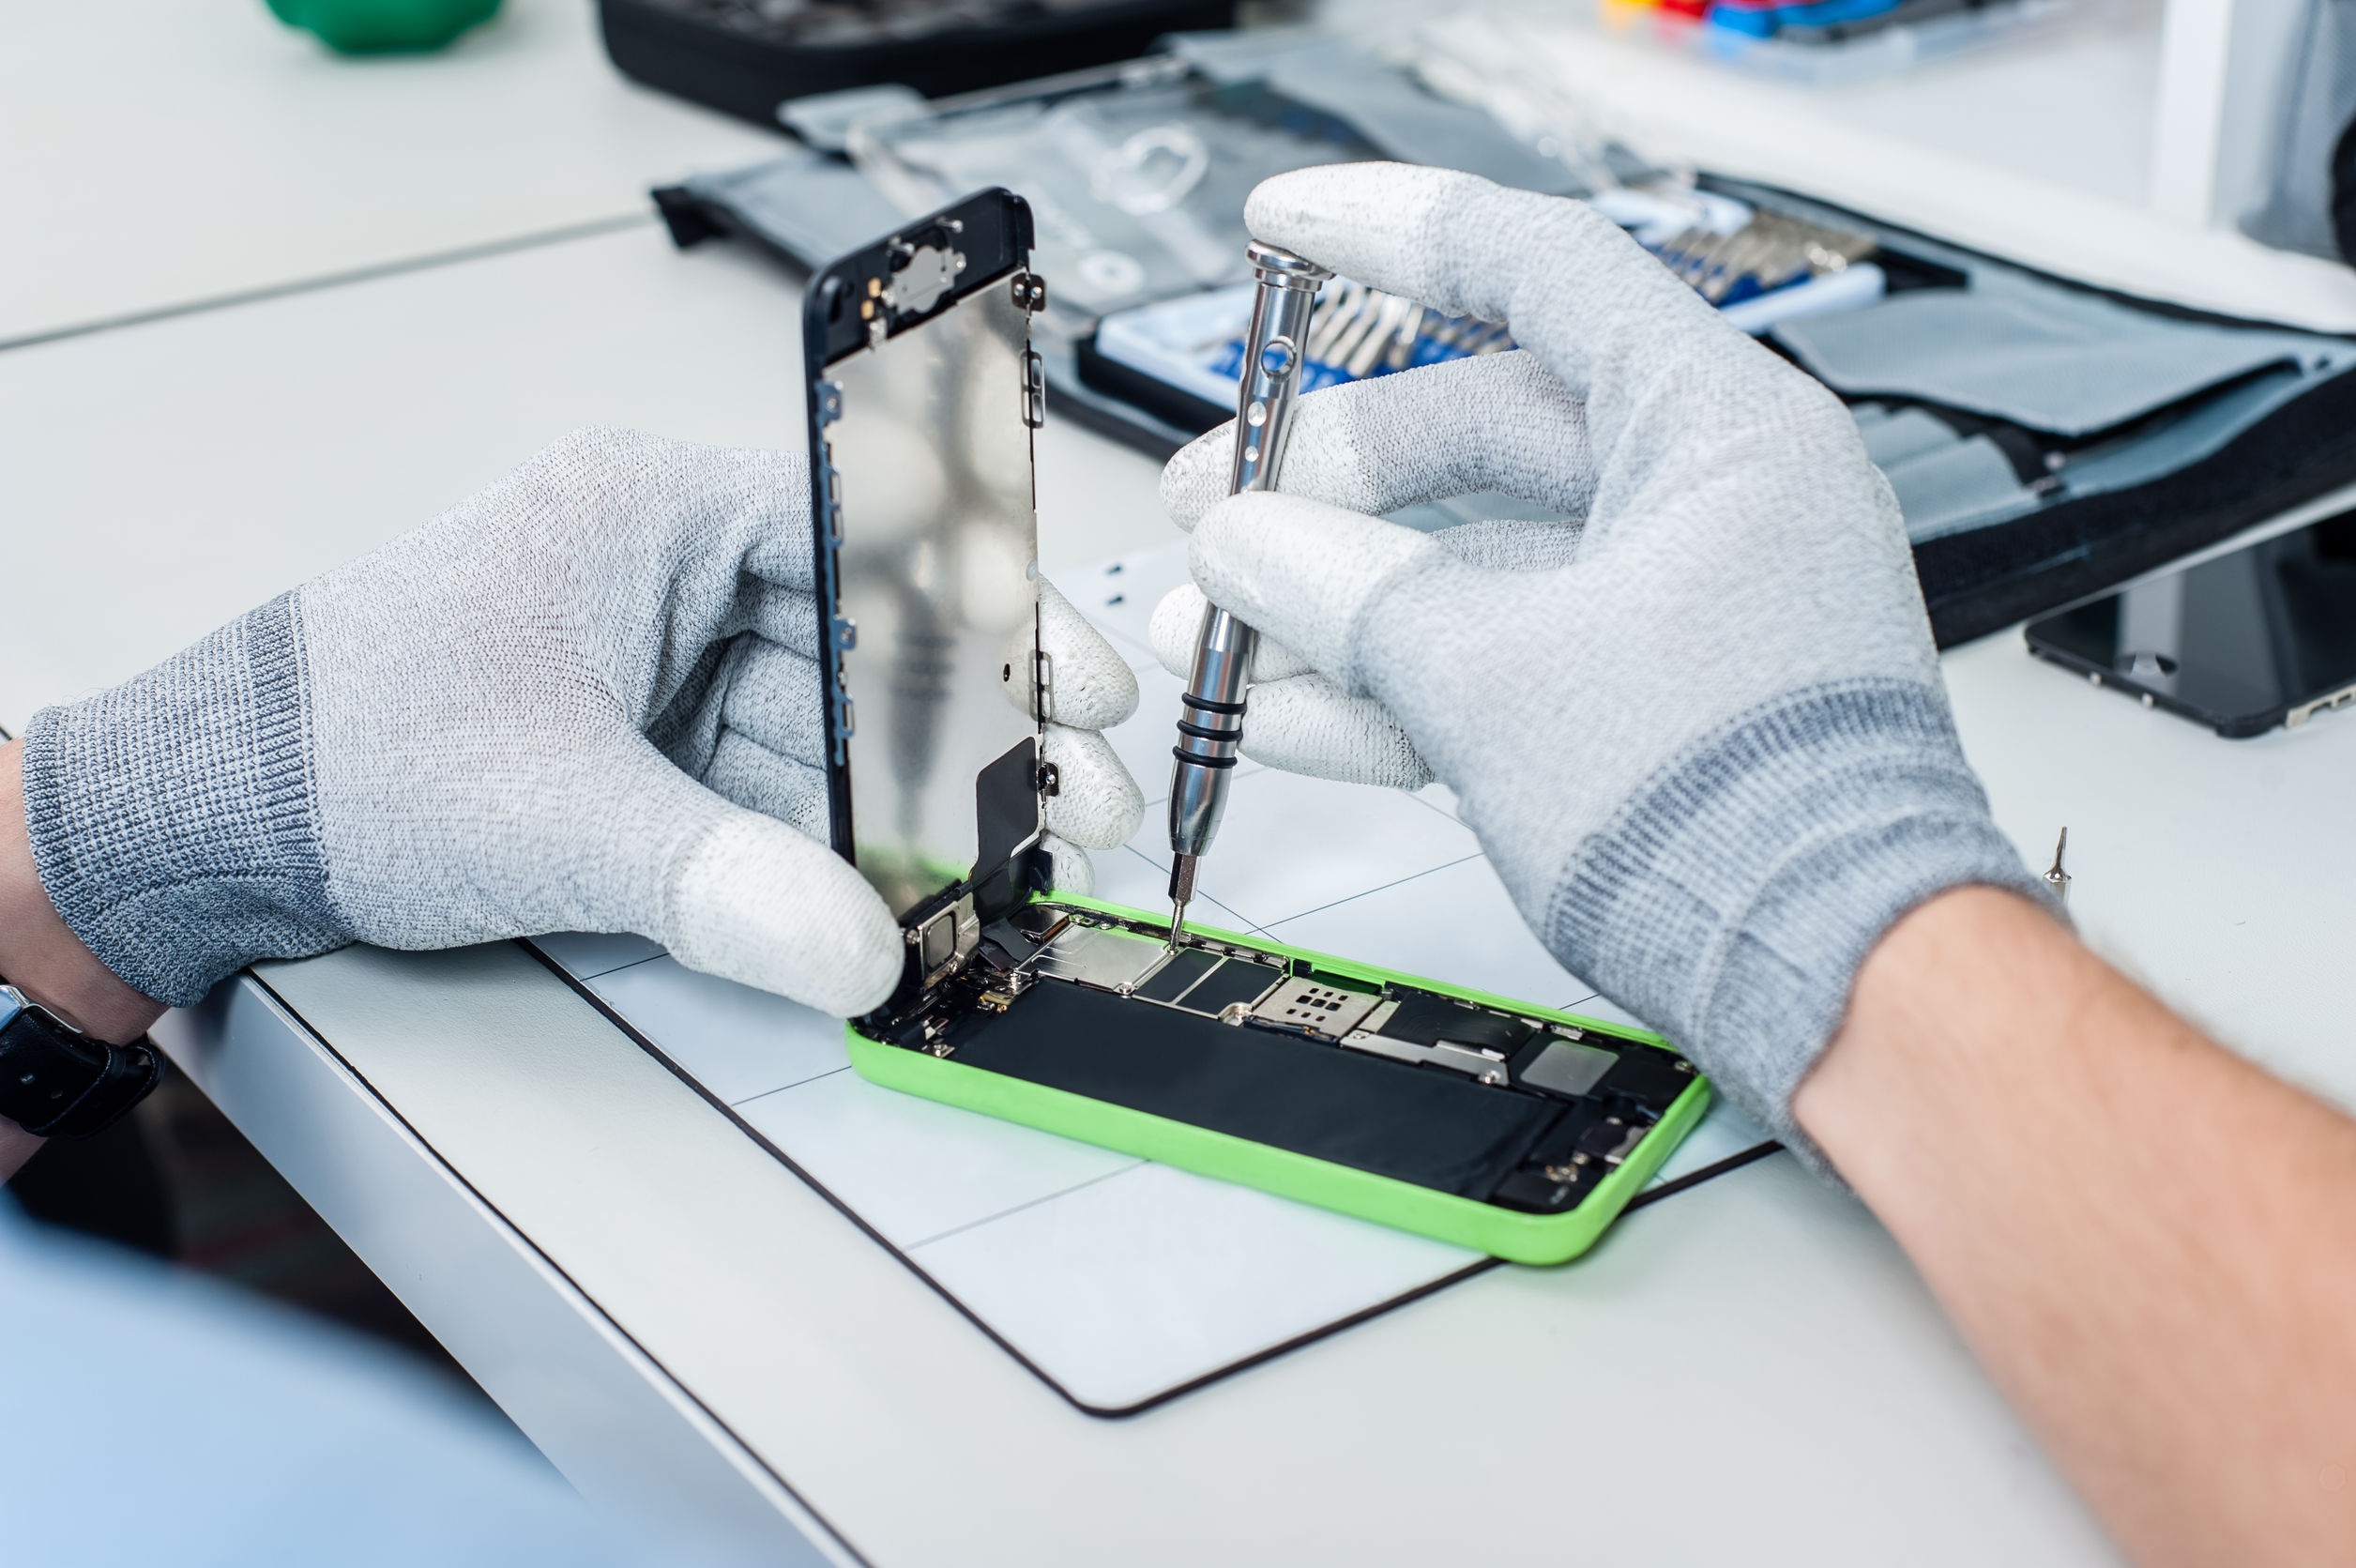
Image Source: Google - Test & Re-Assemble: Before completing the assembly of your phone, make sure everything is working properly by reconnecting the battery and turning it on. This guarantees that everything is operating as it should. Turn off your phone and gently reassemble it. Go backwards, simply follow the disassembly steps in backwards!
Learning From Experience
Reflecting on the phone repair process is invaluable, regardless of the result. It’s an opportunity to enhance problem-solving skills, technical knowledge, and meticulousness—qualities that are beneficial in professional settings. This expertise could potentially open doors to entrepreneurial ventures.
Remember, the key to honing your technical abilities and saving money lies in patience, precision, and eagerness to learn, which are crucial for successful DIY repairs.
Stay tuned for more tech guides like this; this is your soon-to-be favorite friendly neighborhood techie, Zayaan, Signing Off!