


If you are willing to make a strong brand or starting a business, pairing information with imagery is crucial to your success. Most people will forget the information within a few days, but the image will last in their memory for a long time.
From content marketing to social media and website graphics, high-quality photos are the need of the hour. However, you do not need to hire a professional photographer; your phone is good enough, but how? Here’s how:
1. Purchase a Photography App for your iPhone
Several professional photo apps are available for iPhone with incredible features:
CAMERA + ($ 0.99)
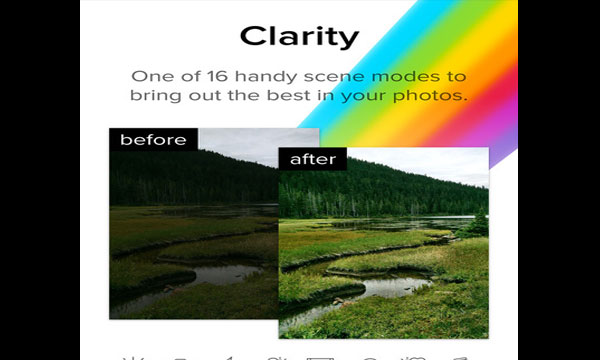
This app has received high praise, and it can be used to take photos and then use the Camera+ to edit as they have a vast array of filters that will make any picture look professional. It also features such as sharpness, saturation, exposure, and more.
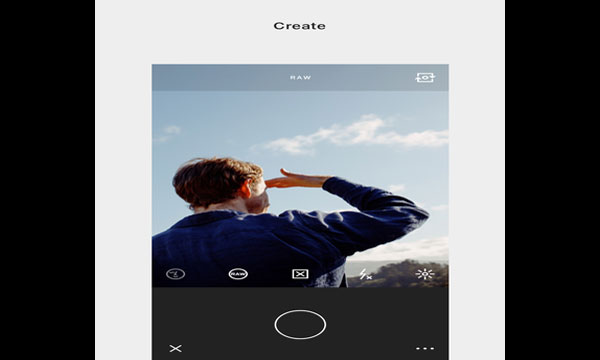
VSCO (FREE + IN-APP PURCHASES)
VSCO has a ton of ‘Advanced’ camera features, various filter options, and the ability to connect with their community of iPhone photographers.
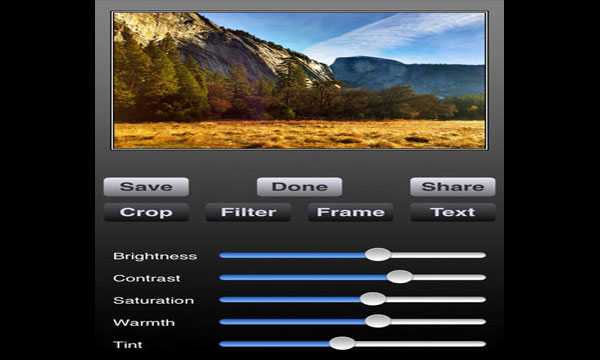
PRO HDR ($1.99)
This particular app allows you to take HDR pictures and adjust their light and color tones by merely tapping the screen. After the photo is received, you can adjust the brightness, saturation, warmth, and tint.
2. Utilize iPhone Photography Features
The iPhone itself has a set of top-notch photographic options that you can use to take better photos. These tips might be useful:
LENSES
The lens, as we know, is the most critical aspect of choosing a picture, however carrying your phone in the pocket or the purse could damage the glass, so make sure the lens is clean at all times.

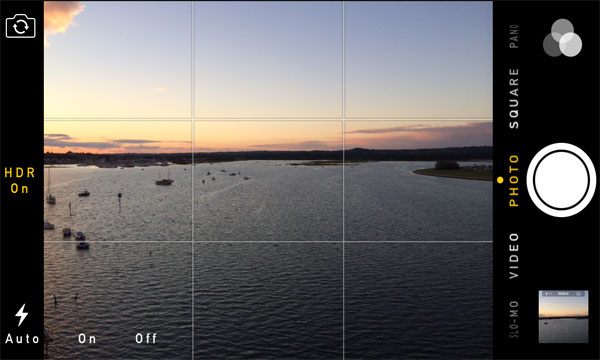
GRID
The iPhone camera has a grid feature that helps you aligning pictures, ensuring that the position of your photo remains. It also helps you in utilizing the ‘Rule of thirds,’ which means breaking the photo down vertically and horizontally.
This will enable you to use a grid with nine squares that you could use to place the visual elements that you need. To turn the grid feature on Setting>Photos>Camera>Turn Grid On.
FOCUS AND EXPOSURE
The iPhone itself has an autofocus feature, and to focus on something, the user must tap the screen twice. To lock in the focus, press and hold it, and an AE/AF LOCK will appear.

BURST
If there is a movable object and you want to capture it, use burst by holding on the capture button, and your phone will take multiple shots at the same time. You check these shots later in your images gallery.

FLASH
The flash of the phone can be troublesome at times, so it is highly recommended to use the natural light while capturing photos.
3. Pay Attention to your Composition
USE A SIMPLE OBJECT
Don’t confuse yourself by adding different details in your picture; focus on what is necessary and the essence of what you’re trying to capture and then surround that object with an interesting background.

PLAY WITH ANGLES
If you want your photos to have that professional ‘feel,’ then you will need to get creative and play with angles. Stand on a chair, get on your knees, take shots from different positions, it will surely give a more dramatic look to your pictures.

PLAY AROUND WITH REFLECTIONS, SILHOUETTES, AND SHADOWS
These techniques will add quality to your pictures, e.g., use a reflection on water or take your photo in high contrast lighting or shoot your subject when the sun is low, creating dramatic shadows and effects.

Hopefully, this guide will prove useful and will ensure that you’ve used the iPhone camera to its fullest. Please do give us your feedback!!
Stay tuned to Brandsynario for more news and updates.
Contributed by: Uzair Alavi