


Have you got pictures from last year’s major events all lined up on your desktop and no time to transfer it to your smartphone for them to be Instagrammed?
The Instagram website can although be accessed on the desktop, it does not feature the option of uploading pictures on the web but it can only be done through the App on the mobile.
However, we have discovered an efficient way to get around this minor drawback.
Here is a simple step-by-step how-to for uploading pictures on Instagram directly from your personal computer.
This can be done by using BlueStacks, which is an Android emulator that permits you to run the Instagram application on your PC.
Step 1: Download and set up the BlueStacks App Player
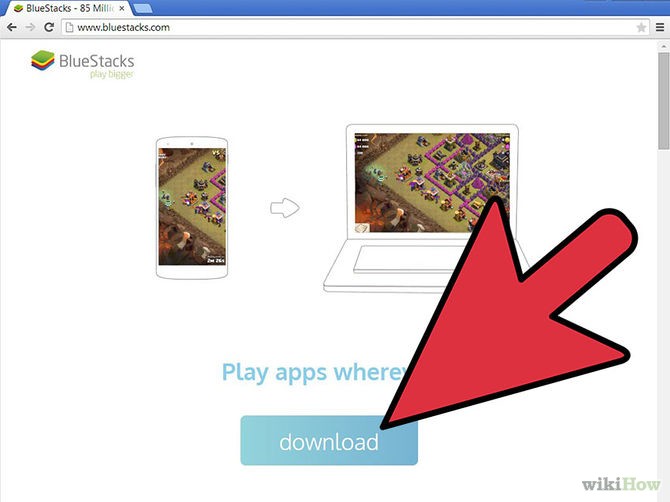
BlueStacks App Player permits the user to run Android Apps on your desktop or laptop.
It can also be utilized on Mac.
Head over to the BlueStacks App’s site.
It is accessible free of cost.
Make sure that the “Application store access” alternative is checked while you introduce it.
BlueStacks might take a couple of minutes to begin for the first time.
Step 2: Look for the Instagram App

As soon as BlueStacks will start up, home-screen of BlueStacks will show up, click the Magnifying Glass in the upper-left corner to look for apps.
Enter in “Instagram” and then tap the button to open the Google Play Store.
Click the Magnifying Glass in the upper-left corner to look for apps. Enter in “Instagram” and then tap the button to open the Google Play Store.
Step 3: Log into BlueStacks via Google Account
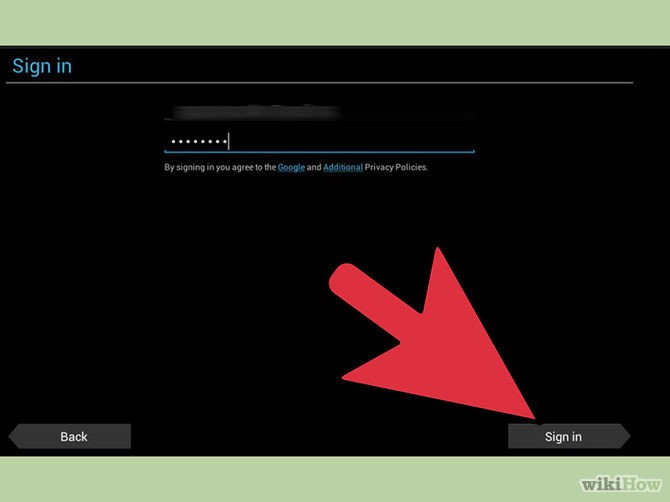
After you choose the Google Play option, sign in with your Google account if you have one else you can create an account directly in BlueStacks.
Step 4: Download Instagram
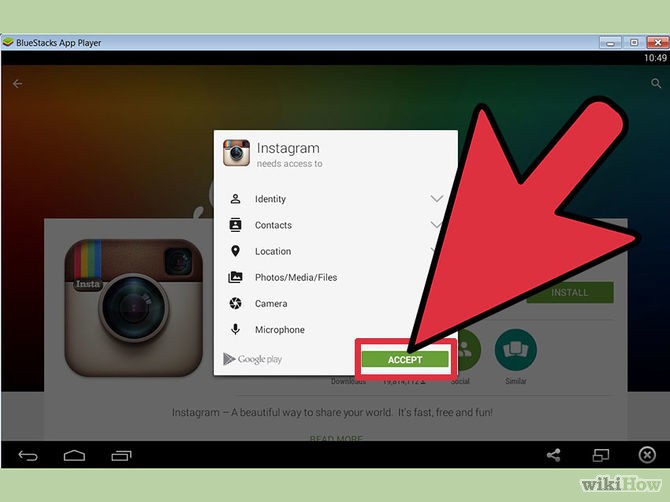
In the Google Play Store, open the Instagram App Page. Tap on the “Free” button and after that click “install”. In this way, Instagram will be downloaded into BlueStacks.
Step 5: Sign in with your Instagram Account
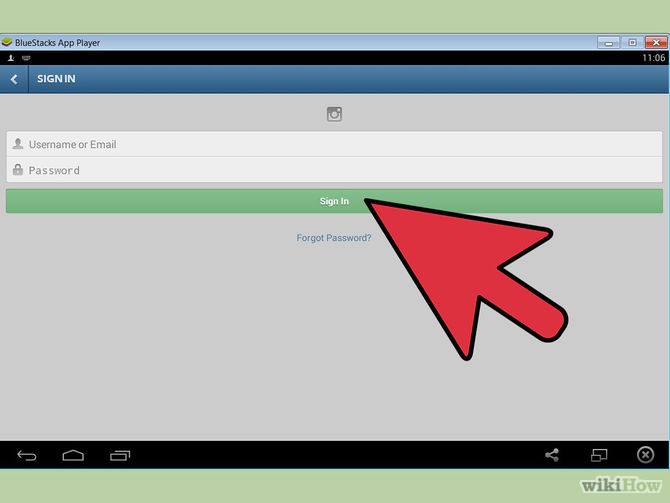
Open the Instagram App that show up on BlueStacks Home Screen. Log into Instagram by providing your account information. After signing in, the standard Instagram mobile interface will appear right in front of your eyes.
Step 6: Upload a picture (Windows)
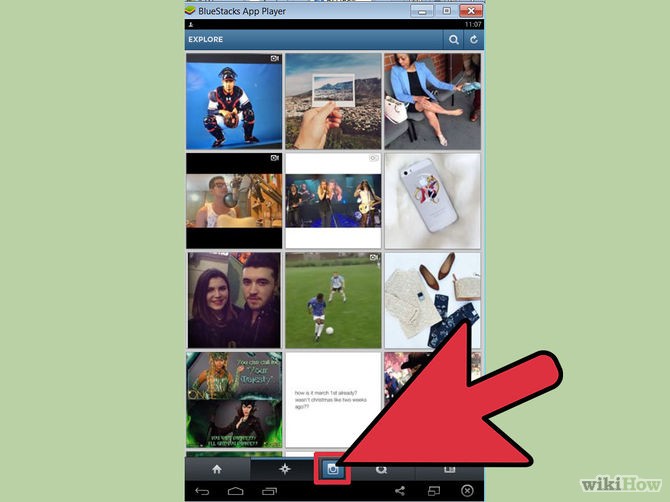
Click the camera button that shows up at the base of the Instagram screen.
Click the “Other Files” button to the left of the shutter button in the camera window.
Snap the “Pick from Windows” alternative at the bottom of the list.
Browse your computer and look for the file you would like to upload.
Step 7: Upload a picture (OS X)
Copy the pictures you desire to upload into your pictures folder in Finder.
Download “ES File Explorer” in BlueStacks. It’s really easy to get it by following the same way as you got the Instagram app.
Open Instagram and snap the Camera button.
Select “Pick from Gallery”
Select “ES File Explorer.”
Open the “best folder” directors. It will permit you to access your Mac user directories.
Open the “best folder” directors. It will permit you to access your Mac user directories.Lastly, open your Pictures folder and choose the image that you want to upload.
Lastly, open your Pictures folder and choose the image that you want to upload.
Step 8: Apply Instagram effects and include a caption
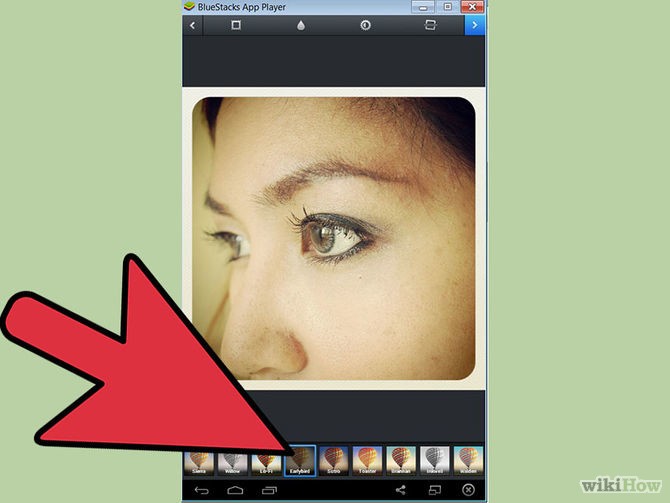
After selecting the image you need to post on Instagram, you can crop and alter it simply as you do on your phone.
You can apply filters and add a caption to your picture. Add hashtags to make your pictures easier to find with searches.
Step 9: Share the picture
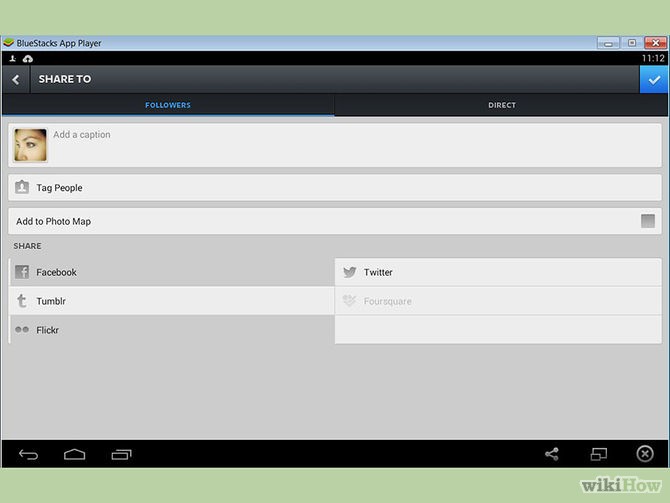
After you are done with edits, you can share the photo with your Instagram followers or you can send to specific users by clicking on “Direct” instead of sharing it with your entire list of followers.
Hope this guide was simple and helpful. Let us know how helpful this Instagram-How-to was in the comments below.


